Installation
Steps and software need to code, compile is elaborated here.
Source
https://arduino.sincgrid.com/docs/build/html/files/lecture2/index.html
Arduino IDE
- Free and Open-source
- Easy-to-use
- Compatible
- Easy-to-understand
- Reliable
Download
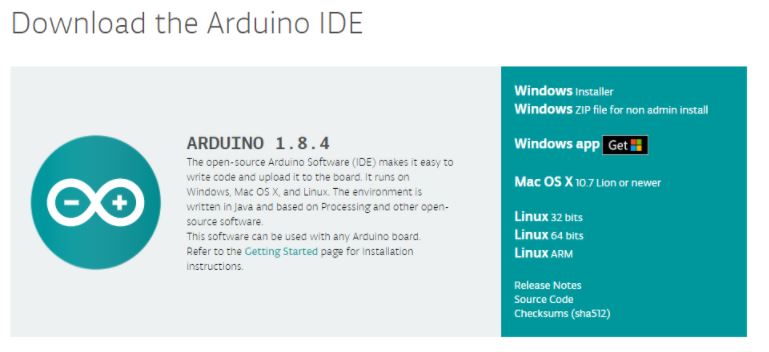
- To download the Arduino IDE, open url
<https://www.arduino.cc/en/Main/Software>_. - Now select the download file based on your operating system.

Installations
Installation (Windows)
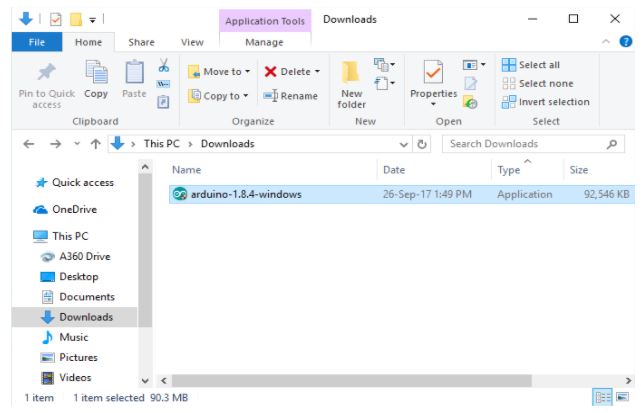
- Now click on the downloaded file to start the installation.
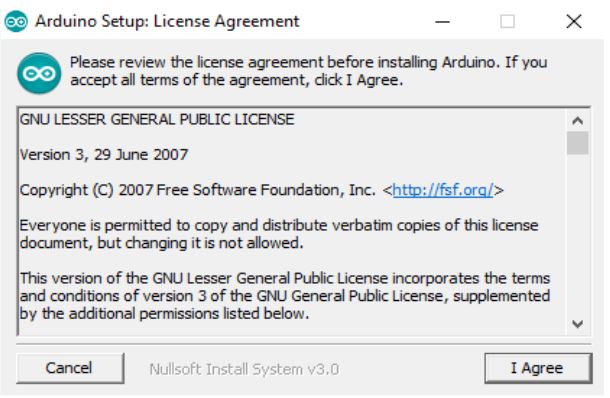
- Now accept the license agreement by clicking on I Agree button.
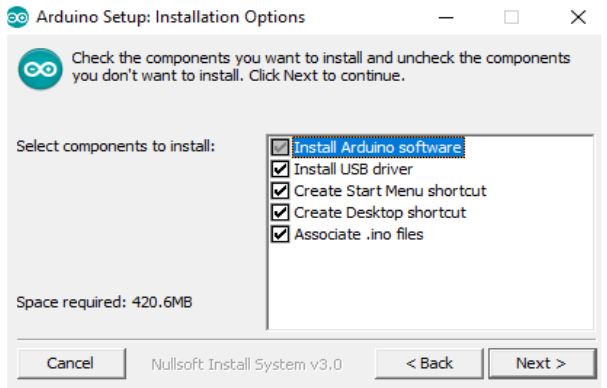
- Click on Next to install various components of Arduino IDE Setup.
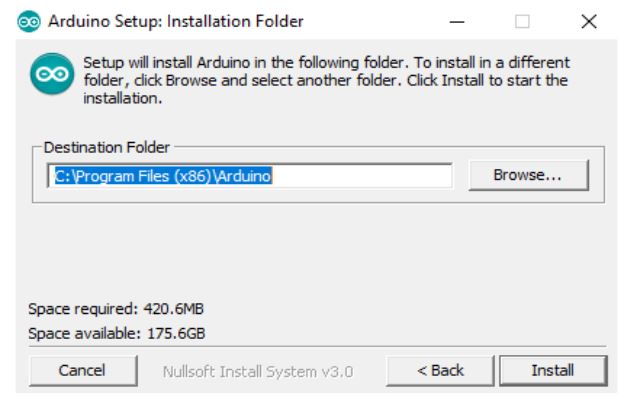
- Now select the directory for installation and click Install button.
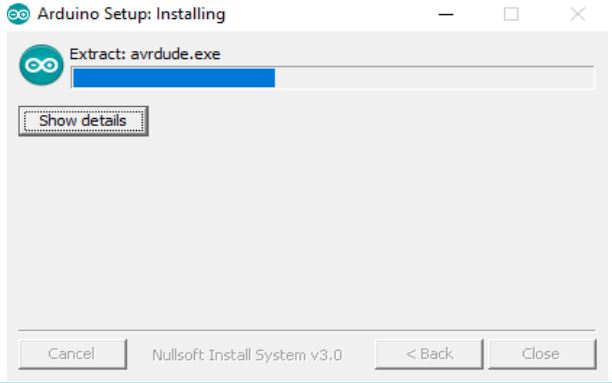
- The following dialogue box appears, click Close after the installation is completed.
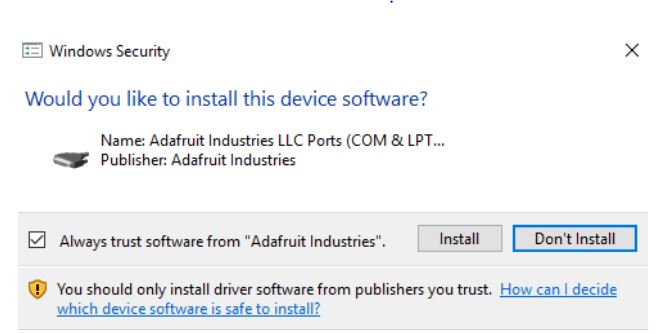
- If the drivers are not pre-installed on your desktop, then a series of driver installation dialog box will appear. Click Install to install the necessary drivers.
- The installation has been completed.
- Now click on the desktop icon to start the Arduino IDE.
Installation (Linux)
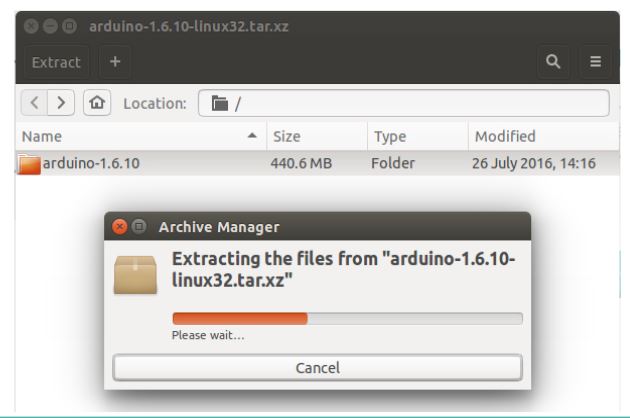
- Extract the downloaded package.
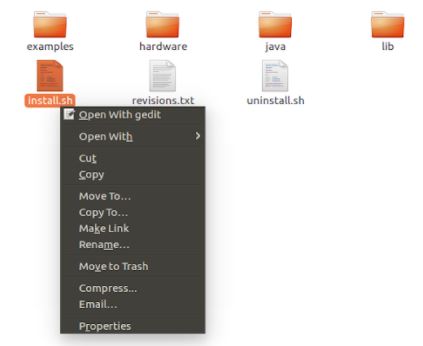
- In the extracted folder, find the install.sh file.
- Right click on it and chose the Run in Terminal from contextual menu.
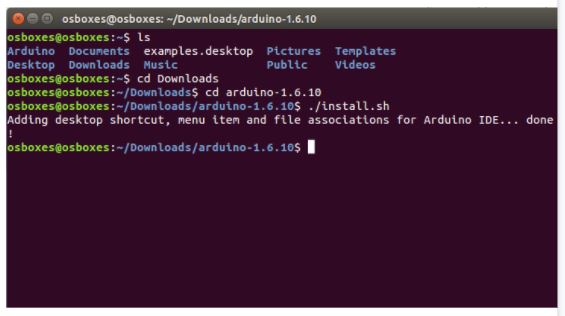
- If you can’t find the Run in Terminal option from contextual menu, then open Terminal and navigate to the extracted folder
- Type the command ./install.sh and wait for the process to finish
- Now, the Arduino IDE has been installed
- It might be the case that you would not be able to upload the sketch because of serial port permission. The corresponding error message is ”Error connecting to Serial Port”
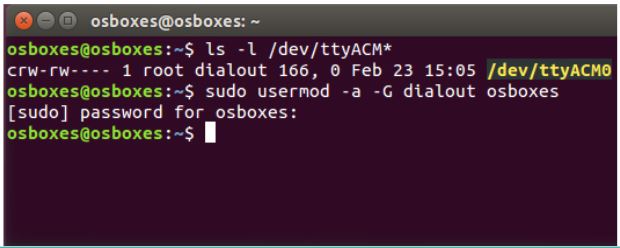
- To set the permission, open Terminal and type ls -l /dev/ttyACM*
- The data we need is ‘dialout’(this is the group owner of the file)
- Now we need to add our user to that group with the help of the following command sudo usermod -a -G dialout < username >
Installation (Mac OS X)
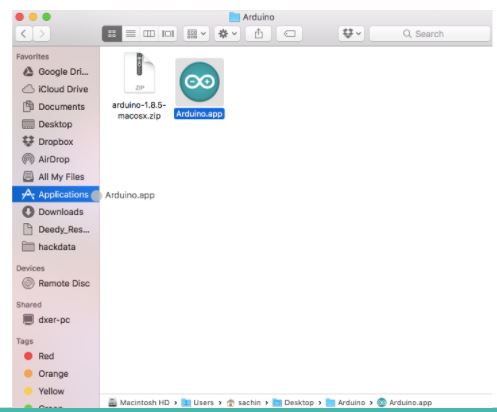
- Extract the downloaded package.

- Copy the Arduino application into the Applications folder or any other location.
- The installation has been completed.
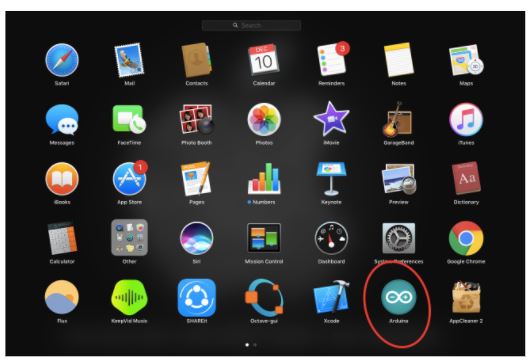
- Now click on the Arduino icon to start the Arduino IDE.
User Interface
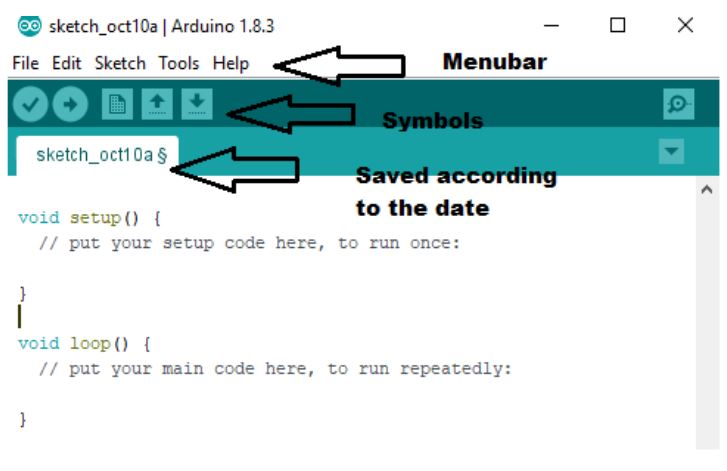
File Tab and Edit Tab

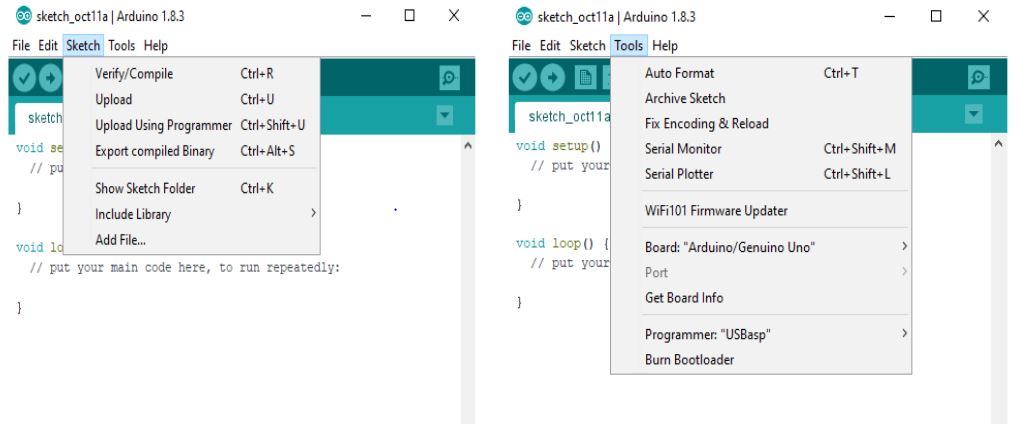
Sketch Tab and Tools Tab
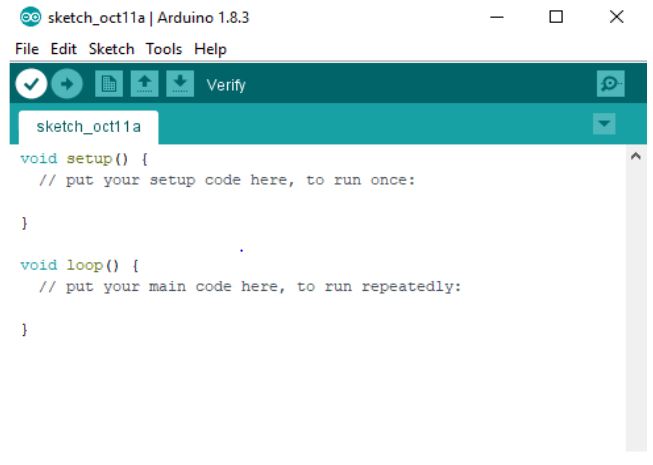
Meaning of Symbols-Verify
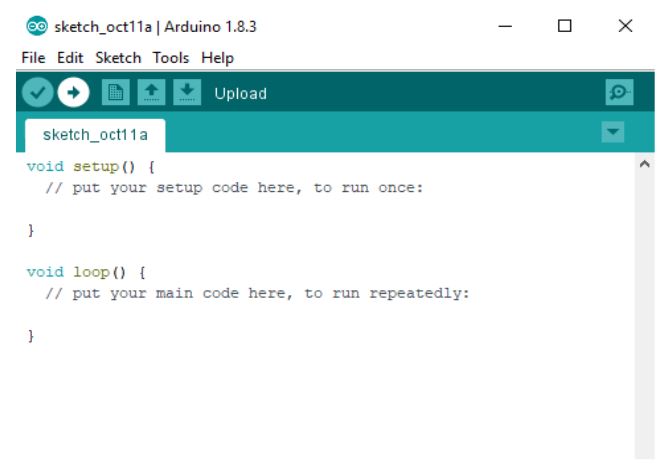
Upload
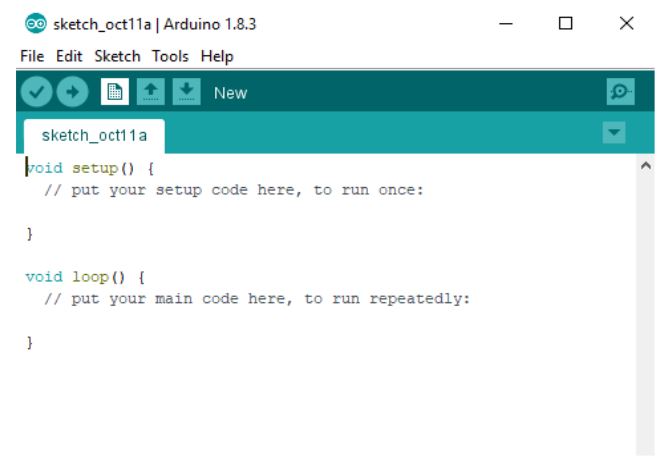
New
Open

Save
Serial Monitor

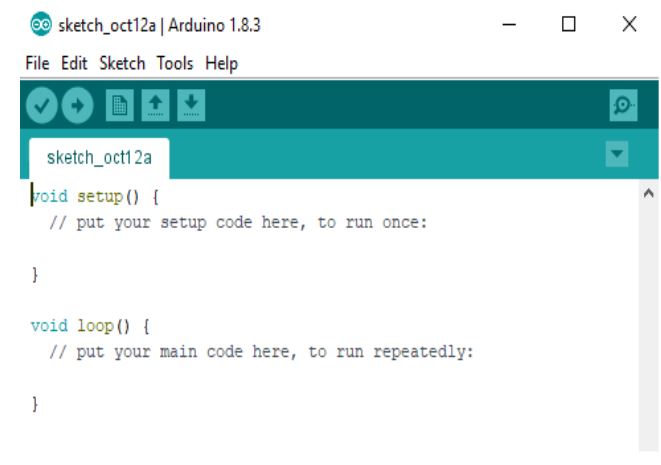
Functions